Homemade Traction Bars : Increase Traction with DIY Bars
When it comes to off-roading and high-performance vehicles, traction is key. Traction bars are an essential component for improving traction and preventing wheel hop, especially in trucks and other rear-wheel drive vehicles.
What are Traction Bars?
Traction bars, also known as traction or lift bars, are devices installed on the rear axle of a vehicle to prevent wheel hop and axle wrap. They provide additional support and stability to the rear suspension, ensuring that the tires maintain better contact with the road surface. By reducing wheel hop and axle wrap, traction bars improve traction and overall handling of the vehicle.
The Benefits of Homemade Traction Bars
While there are many commercially available traction bars on the market, building your own homemade traction bars can be a cost-effective and rewarding project. By customizing the design and materials, you can tailor the traction bars to your specific vehicle and off-road needs.
- Cost-effective solution
- Customizable design
- Opportunity to learn and apply mechanical skills
- Ability to use durable and high-quality materials
How to Build Homemade Traction Bars
Building homemade traction bars requires careful planning and the right tools and materials. Here’s a step-by-step guide to help you create your own traction bars:
Materials Needed:
Before you start building your homemade traction bars, gather the following materials:
| Materials | Quantity |
|---|---|
| Steel tubing or square tubing | 2 lengths |
| Steel rod or round tubing | 2 pieces |
| Welding equipment | 1 set |
| Steel brackets | 4 pieces |
| U-bolts | 4 pieces |
| Hardware (nuts, bolts, washers) | As needed |
Step 1: Design The Traction Bars
Start by measuring the distance between the rear axle and the frame of the vehicle. Use these measurements to design your traction bars, ensuring that they fit snugly and securely when installed.
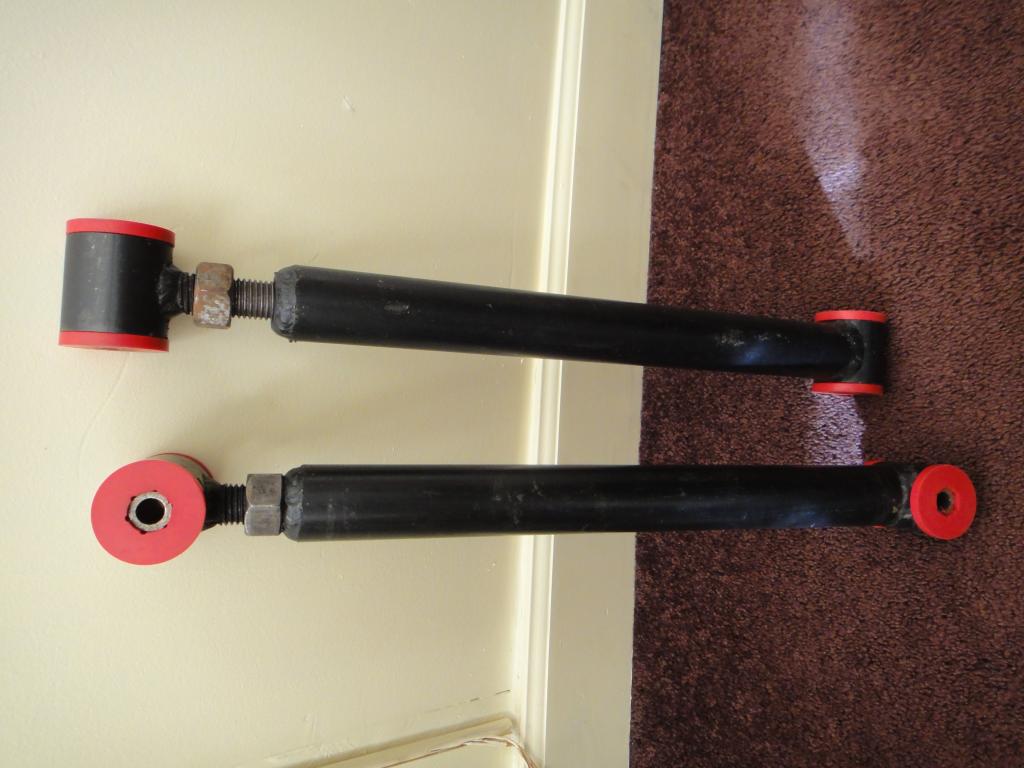
Step 2: Cut And Weld The Tubing
Using the steel tubing and rod, cut the pieces to the appropriate lengths and weld them together to form the main structure of the traction bars. Be sure to follow proper welding safety precautions.
Step 3: Attach Brackets And U-bolts
Secure the steel brackets to the traction bars and attach the U-bolts to the brackets. These will be used to mount the traction bars to the vehicle’s rear axle and frame.
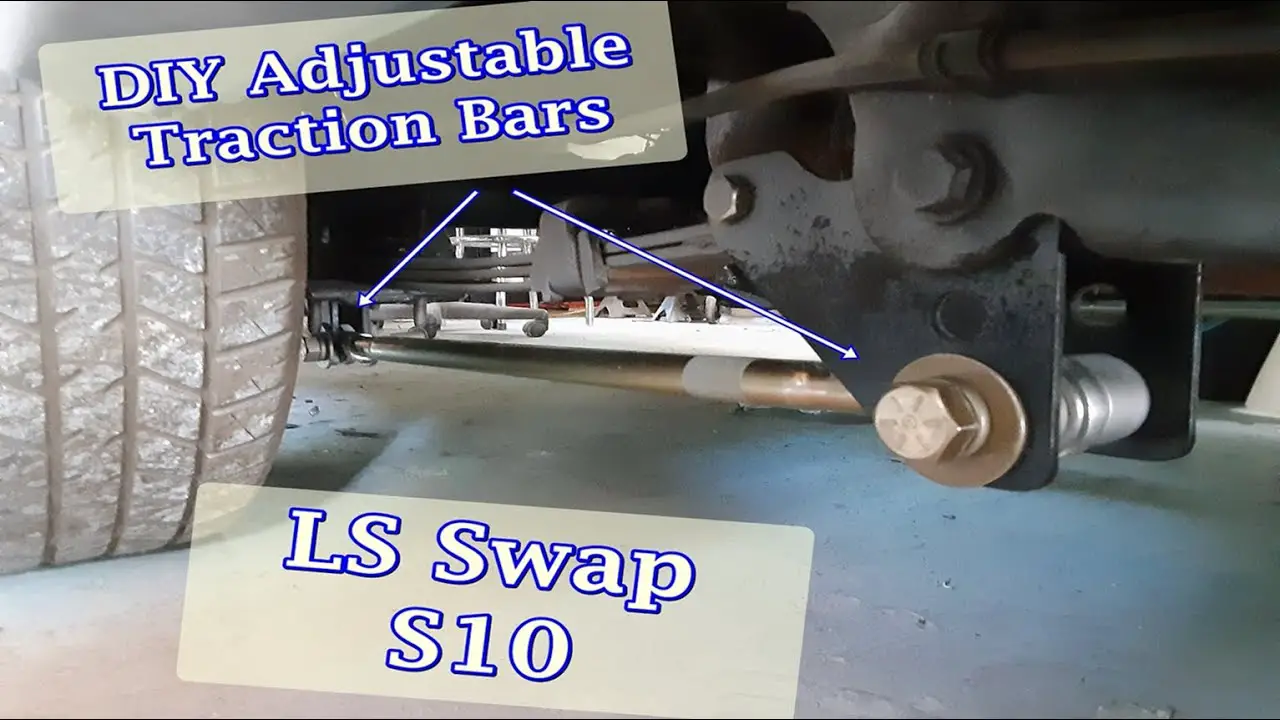
Step 4: Install Traction Bars
With the traction bars fully assembled, carefully install them on the rear axle and frame of your vehicle. Ensure that they are properly aligned and tightened for maximum effectiveness.
Credit: www.performancetrucks.net
Frequently Asked Questions On Homemade Traction Bars : Increase Traction With Diy Bars
What Are Homemade Traction Bars?
Homemade traction bars are custom-made suspension components designed to improve traction and prevent axle wrap.
How Do Homemade Traction Bars Work?
Traction bars work by limiting axle rotation and using the vehicle’s own weight to improve traction during acceleration.
Why Should I Consider Homemade Traction Bars?
Homemade traction bars can enhance vehicle performance, reduce wheel hop, and provide better stability during acceleration and braking.
Can I Install Homemade Traction Bars Myself?
Yes, with the right tools and knowledge, installing homemade traction bars can be a DIY project for some automotive enthusiasts.
Conclusion
Homemade traction bars are a great DIY project for off-road enthusiasts who want to improve their vehicle’s traction and performance. By following these steps and customizing the design to fit your specific vehicle, you can create cost-effective traction bars that meet your off-roading needs.
Remember to always prioritize safety when working with welding equipment and heavy-duty materials. If you’re unsure about any step in the process, consult with a professional or experienced hobbyist to ensure that your homemade traction bars are safe and effective.