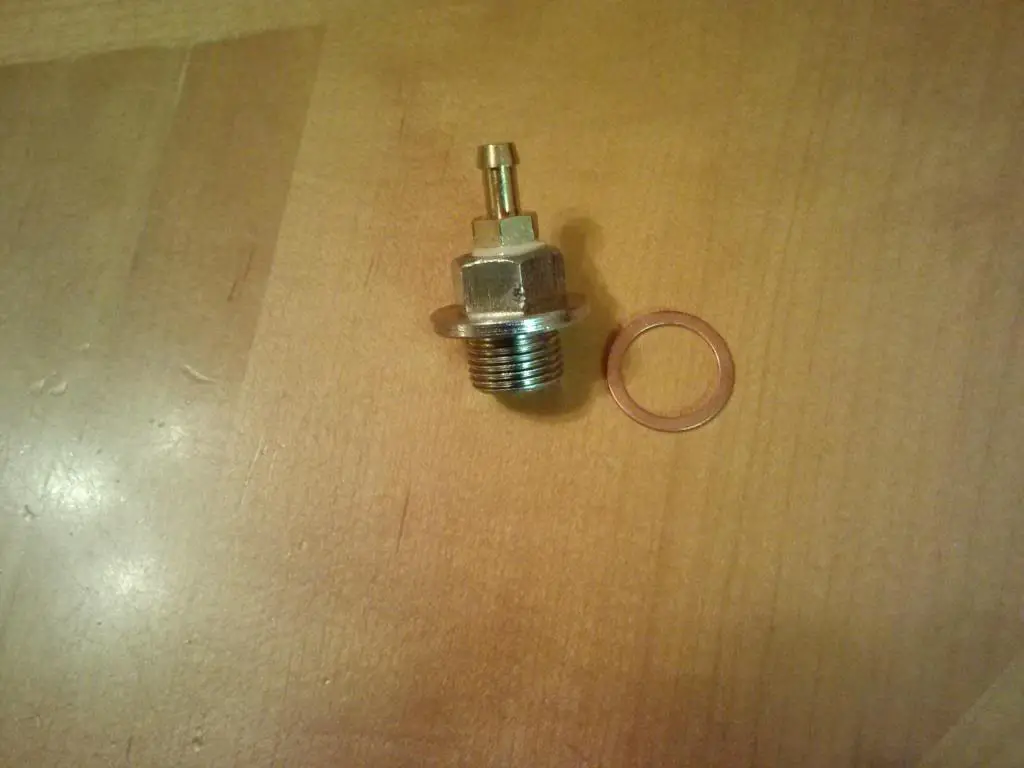
Homemade Exhaust Back Pressure Tester : DIY Solution for Accurate Testing
When it comes to maintaining and diagnosing issues with your vehicle’s exhaust system, having the right tools can make all the difference. One essential tool for evaluating the health of your exhaust system is an exhaust back pressure tester. While there are commercial testers available, creating your own homemade version can be a cost-effective and practical solution. In this guide, we will walk you through the process of making your own exhaust back pressure tester.
The Importance of an Exhaust Back Pressure Tester
Before we delve into the construction of a homemade exhaust back pressure tester, it’s essential to understand precisely what this tool does and why it’s crucial for your vehicle’s performance. An exhaust back pressure tester measures the pressure in the exhaust system to determine if there are any blockages or restrictions that could be impacting the engine’s performance.
Gathering the Materials
Creating a homemade exhaust back pressure tester doesn’t require a vast array of materials. In fact, you likely have many of the necessary items in your toolbox already. Here’s a basic list of what you’ll need to get started:
- Pressure gauge
- Ball valve
- Plumbing fittings (tees, pipes, and caps)
- Hose clamps
- Rubber hose
- Thread seal tape
- Drill and bits
Constructing Your Exhaust Back Pressure Tester
Now that you have the necessary materials, it’s time to start building your homemade exhaust back pressure tester. Follow these steps to create your own tester:
- Step 1: Prepare the Pressure Gauge
Start by using thread seal tape to secure the pressure gauge to a tee fitting. This will serve as the primary point for measuring the exhaust back pressure. - Step 2: Assemble the Plumbing Fittings
Using the ball valve, pipes, and caps, assemble a structure that will allow you to connect the pressure gauge to the vehicle’s exhaust system securely. - Step 3: Connect the Rubber Hose
Attach a length of rubber hose to the other end of the ball valve. This hose will connect the tester to the vehicle’s exhaust pipe. - Step 4: Secure the Hose Clamps
Use hose clamps to ensure a tight and secure connection between the rubber hose and the vehicle’s exhaust pipe.

Credit: www.aa1car.com
Using Your Homemade Tester
With your homemade exhaust back pressure tester ready to go, it’s time to put it to use. Here’s a basic overview of how to use the tester:
- Start the vehicle and let it run until it reaches operating temperature.
- Connect the rubber hose of the tester to the vehicle’s exhaust pipe.
- Observe the pressure gauge to determine the back pressure in the exhaust system.
- Compare the measured pressure to the manufacturer’s specifications to assess the health of the exhaust system.
Frequently Asked Questions For Homemade Exhaust Back Pressure Tester : Diy Solution For Accurate Testing
What Is An Exhaust Back Pressure Tester?
An exhaust back pressure tester is a tool used to measure back pressure in a vehicle’s exhaust system.
Why Is It Important To Test Exhaust Back Pressure?
Testing exhaust back pressure helps diagnose engine and exhaust system issues, ensuring optimal performance.
How Can I Make A Homemade Exhaust Back Pressure Tester?
You can create a homemade exhaust back pressure tester using simple materials like a pressure gauge and tubing.
What Are The Benefits Of Using A Homemade Exhaust Back Pressure Tester?
Using a homemade tester can save money and provide insight into the health of your vehicle’s exhaust system.
Conclusion
Building your own homemade exhaust back pressure tester is a practical and cost-effective solution for evaluating the performance of your vehicle’s exhaust system. By following the steps outlined in this guide, you can create a reliable tool that will aid in diagnosing and maintaining your vehicle’s exhaust system. Remember to always prioritize safety when working on your vehicle, and consult a professional if you have any concerns about your exhaust system’s performance.


