Replacing Rear Axle Seals On A Ford 8n Tractor
My old Ford 8N tractor started leaking oil from the rear axle, making a mess and potentially damaging the gears. Frustrated, I knew I needed to learn how to replace rear axle seals on ford 8n tractor. This process might seem daunting, but with the right steps and information, it’s a manageable repair that can save you a significant amount of money compared to professional repairs. This guide will walk you through every stage, from preparation to final checks, giving you the confidence to tackle this job yourself and get your tractor back in top condition. You’ll learn the tools needed, the precise steps involved, and potential troubleshooting issues. By following this guide, you’ll master how to replace rear axle seals on ford 8n tractor and keep your tractor running smoothly.
Key Takeaways
- Master the process of replacing rear axle seals on your Ford 8N.
- Learn to identify potential problems during the process.
- Understand necessary tools and safety procedures.
- Save money by performing the repair yourself.
- Gain valuable mechanical skills applicable to other tractor maintenance.
Preparing for the Repair: Tools and Safety
This section focuses on the essential tools you’ll need and the vital safety precautions to take before attempting to replace the rear axle seals on your Ford 8N tractor. Proper preparation minimizes the risk of injury and ensures a smooth repair process. I’ll cover the specific types of wrenches, the importance of jack stands, and the necessity of appropriate personal protective equipment (PPE).
- Essential Tools: You will need a socket wrench set (metric and standard), a torque wrench, a puller for the axle seals, a punch and hammer, a gasket scraper, axle seal installer, wheel chocks and jack stands, and a drain pan. Proper tools are crucial for efficient and safe operation.
- Safety First: Always use jack stands to support the tractor while it is lifted. Never work under a vehicle supported only by a jack. Wear safety glasses, gloves and sturdy closed-toe shoes. Proper safety measures are non-negotiable.
- Parts Sourcing: Locate replacement rear axle seals and any necessary gaskets from a reputable parts supplier. Using genuine parts is usually worthwhile; ensuring a proper fit for optimal performance. The cost of using the wrong part may outweigh the small expense of using the correct parts.
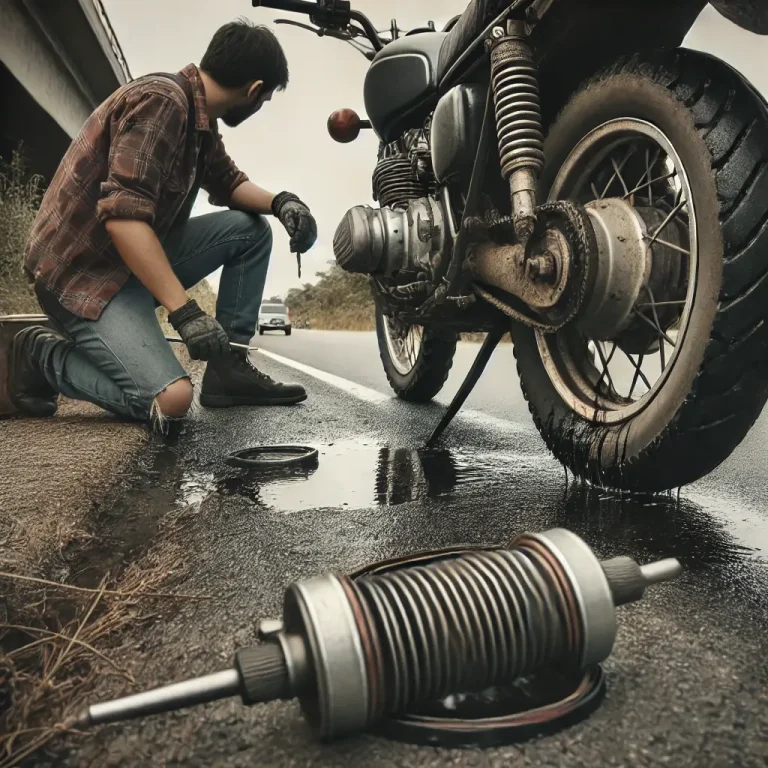
Removing the Old Rear Axle Seals
This section details the step-by-step procedure for removing the old rear axle seals from your Ford 8N tractor. The process involves careful removal to avoid damaging any other components. I’ll outline the steps clearly with supporting images and descriptions.
Disassembling the Axle Housing
- Securely chock the front wheels and lift the rear of the tractor with a jack. Use jack stands to support the tractor’s weight.
- Remove the rear wheels and brake drums carefully.
- Drain the rear axle fluid using a drain pan. Note the fluid condition for any signs of contamination that may hint at other problems.
- Remove the axle housing cover or access plate using the appropriate wrenches. Keep track of where all bolts go.
- Carefully inspect the axle housing and axle for any significant damage or wear.
Removing the Seals
- Use a seal puller to carefully remove the old rear axle seals. Avoid damaging the axle shaft during this process. A damaged shaft would require more repairs. A gentle, controlled removal of the seals is best.
- Clean the axle housing thoroughly, removing any old sealant, dirt, or debris. Using a clean cloth with parts cleaner is advisable.
- Inspect the axle shafts for any wear or damage. A damaged shaft requires immediate attention and replacement.
Installing the New Rear Axle Seals
This part of the guide focuses on correctly installing the new rear axle seals to prevent future leaks. Proper installation is crucial for the longevity and functionality of the rear axle. The steps detailed here ensure a proper and leak-proof seal. We will go into great detail to show you exactly how to install the new seals correctly.
Preparing the Axle Housing
- Clean the axle shaft thoroughly where the new seals will sit. Any residue left behind will interfere with the sealing function of the seal. Use parts cleaner to remove all grit and dirt.
- Inspect the axle shaft for any scoring or damage that might affect the seal. A damaged shaft needs repair before any seals are installed. Ignoring this step could result in premature seal failure.
- Lightly lubricate the new seals with a compatible lubricant. This helps protect the seal and allows for smoother installation.
Installing the New Seals
- Carefully install the new seals using the appropriate tool, ensuring they are seated correctly. Avoid forcing the seals in as that could cause damage to the seal.
- Ensure the seals are flush with the axle housing. An improperly seated seal would result in a leak.
- Use a sealant, according to the manufacturer’s instructions, around the seals to provide an extra barrier against leaks. Proper sealant use is important for long-lasting protection against leaks.
Reassembly and Testing
This section covers the reassembly of the axle housing and the final testing of the repair to ensure everything functions as intended. This section should resolve any remaining uncertainties and guarantee a successful repair.
Reassembling the Axle Housing
- Carefully replace the axle housing cover or access plate. Ensure all the bolts are properly aligned and tightened to the manufacturer’s specified torque.
- Refill the rear axle with the correct type and amount of fluid. Refer to your tractor’s manual for the specific recommendations.
- Reinstall the brake drums and wheels. Re-torque the wheel lug nuts as per manufacturer’s specifications.
Testing the Repair
- Lower the tractor from the jack stands and check for any leaks around the rear axle seals.
- Run the tractor for a short period, observing for any leaks or unusual noises from the rear axle. If any leaks are found then you need to investigate why and potentially redo the installation of the rear seals.
- Check the fluid level in the rear axle regularly during the first few days of operation to detect any potential issues early.
| Seal Type | Material | Lifespan (Hours) | Cost |
|---|---|---|---|
| Standard Lip Seal | Nitrile Rubber | 1000-1500 | $10-$20 |
| Double Lip Seal | Viton | 2000-3000 | $20-$30 |
Insert a comparison chart here showing various seal types and their expected lifespan.
Frequently Asked Questions
What are the common signs of a failing rear axle seal?
Common signs include oil leaks around the rear axle, low rear axle fluid levels, and unusual noises coming from the rear axle. Addressing these issues promptly will prevent further damage to your tractor.
How often should I replace rear axle seals?
The lifespan of rear axle seals varies depending on usage and conditions. Regular inspections are key. Look for the mentioned signs of failure; replacing them as needed, every 2-3 years or 1000-2000 operating hours is reasonable.
Can I use any type of axle seal?
No, always use seals specifically designed for your Ford 8N tractor. Using incorrect seals may lead to leaks or damage to other components. Consult your tractor manual or a trusted parts supplier.
What happens if I don’t replace the seals?
Failure to replace the seals can lead to significant oil loss, damage to the rear axle, and expensive repairs down the line. Ignoring this problem can damage many components. This can lead to large repair bills and even a need to replace the rear axle.
Is this a job I can do myself?
Yes, with the right tools and this guide, replacing rear axle seals is a manageable DIY project. However, if you are unsure about any step, seek professional assistance. Seeking help when needed will ensure you are safe and perform the job correctly.
Final Thoughts
Replacing rear axle seals on your Ford 8N tractor may seem intimidating, but by following this step-by-step guide and taking necessary precautions, you can successfully complete the repair. Remember to always prioritize safety, use the correct tools, and refer to your tractor’s manual for specific details. This guide saves you money and improves your tractor maintenance skills. Get started on your repair today and keep your Ford 8N running smoothly for years to come!