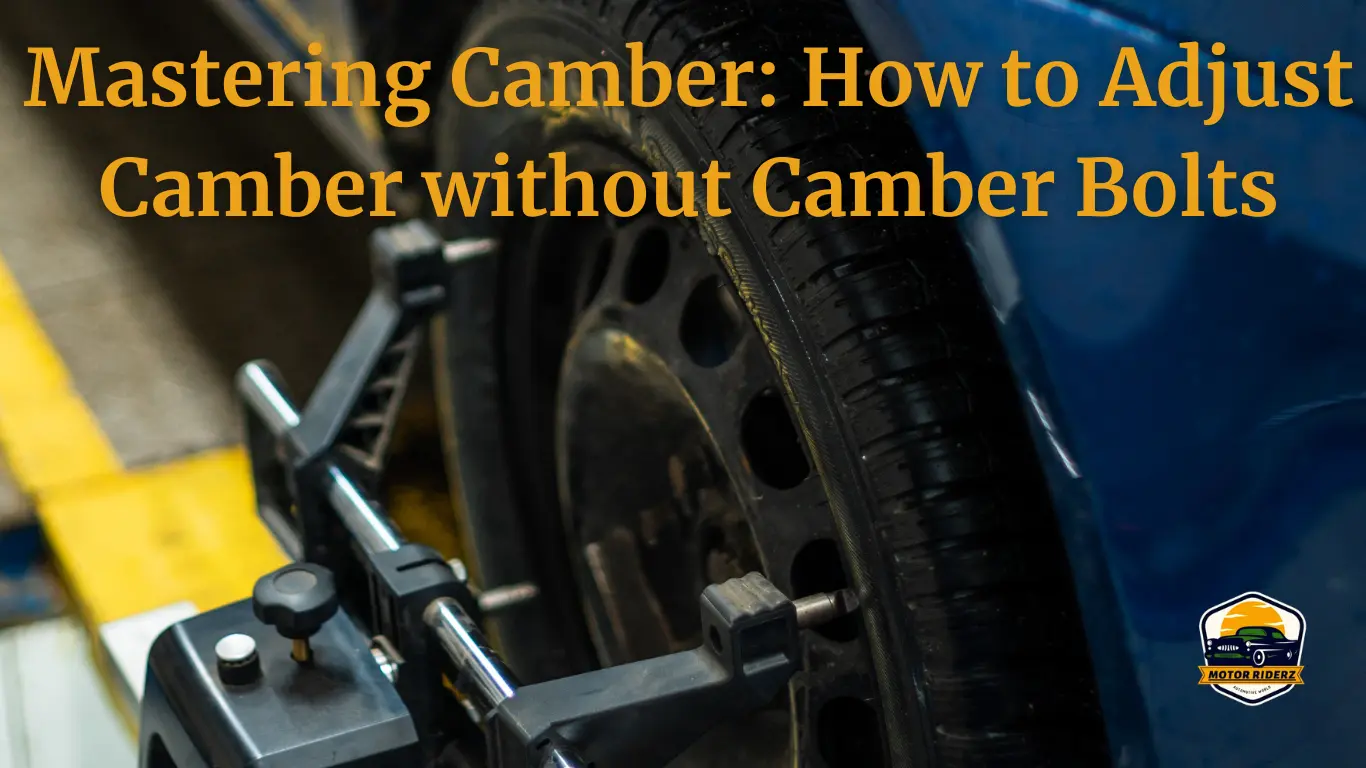
Mastering Camber: How to Adjust Camber without Camber Bolts
Sick and tired of watching your tires scream for mercy with every uneven turn? Does your car handle like a drunken hippopotamus on roller skates? Fear not, fellow gearhead, for the culprit could be a simple camber problem, and the solution might not involve those pesky (and sometimes pricey) camber bolts!
Believe it or not, achieving tire nirvana and reclaiming your car’s lost grip doesn’t have to involve a trip to the mechanic or shelling out for fancy adjustments. This comprehensive guide equips you with the knowledge and tools to conquer camber without the clunk of traditional solutions. Whether you’re a seasoned gearhead or a curious newcomer, we’ll guide you through the process, step-by-step, tailored to your specific car (like your beloved [Your Car Make]!).
But before we dive into the wrench-slinging action, let’s talk about why camber matters. It’s not just about aesthetics (although let’s be honest, who doesn’t appreciate a car that hugs the road like a perfectly fitted glove?). Improper camber wreaks havoc on your tires, leading to uneven wear, reduced lifespan, and compromised performance. It can even make your car handle like a runaway shopping cart, which, trust me, isn’t the kind of thrill you’re looking for.
So, ditch the bolt blues and unlock a world of improved handling, extended tire life, and serious bragging rights (because let’s face it, fixing your car yourself is pretty darn cool). Buckle up, gearheads, and prepare to conquer camber like a pro!
Assessing Your Needs: When (and When Not) to Adjust Camber Yourself
Conquering your car’s camber might sound like a DIY dream, but before you grab the wrenches, it’s crucial to assess your needs and potential pitfalls. Remember, informed decisions equal successful projects!
Spotting the Signs: When to Adjust Camber Yourself
Your car whispers clues about its camber woes. Be on the lookout for these telltale signs:
- Uneven tire wear: The most common giveaway. One side of your tires might be significantly more worn than the other, indicating incorrect camber angles.
- Pulling towards one side: Does your car veer steadily in one direction while driving straight? This could be a symptom of uneven camber pulling the car off course.
- Squealing tires: Hearing excessive tire squeal during cornering often indicates uneven weight distribution on tires, a potential consequence of incorrect camber.
- Steering wheel misalignment: If your steering wheel isn’t perfectly centered even when driving straight, it could be due to incorrect camber affecting alignment.
However, not all camber issues demand DIY intervention.
Knowing When to Seek Professional Help
While this guide empowers you to tackle basic camber adjustments, some situations require professional expertise:
- Recent accidents or major suspension modifications: These can significantly alter camber angles, necessitating a professional assessment and precise adjustments.
- Limited mechanical knowledge or confidence: If you’re unsure about any step or feel uncomfortable working on your car, seeking professional help is always the wise choice.
- Vehicles with non-adjustable suspension components: Some cars simply lack the built-in mechanisms for DIY camber adjustments. Consulting a professional ensures the correct approach for your specific vehicle.
Remember, safety first! If you’re unsure about any aspect, prioritize professional guidance to avoid potential damage or harm.
Understanding Your Car’s Adjustability: The Key to Success
Before diving in, research your car’s specific suspension design and camber adjustability. Does it utilize eccentric bolts, camber plates, or other methods? Consult your owner’s manual or online resources for precise information. This step ensures you choose the appropriate adjustment method and evita frustrating surprises mid-project.
By carefully assessing your needs, understanding your car’s capabilities, and knowing when to seek professional help, you’ll lay the foundation for a successful and rewarding DIY camber adjustment experience. Stay tuned as we delve into the exciting world of bolt-free camber solutions!
Tools & Techniques: Your Bolt-Free Camber Adjustment Arsenal
Forget the frustration of fiddling with expensive camber bolts! This toolbox unveils ingenious techniques to adjust your car’s camber, saving you money and unleashing its full potential. So, which method suits your car and your DIY spirit?
Eccentric Bolts: The Sleek and Serrated Solution
Many cars come equipped with these hidden gems – eccentric bolts. These ingenious fasteners feature an off-center cam that shifts when rotated, subtly altering the control arm angle and, consequently, the camber.
To utilize them:
- Locate the magic: Consult your car’s service manual or online resources to pinpoint the eccentric bolts, typically found on the control arms connecting to the chassis or knuckle.
- Wrench it right: With the car safely raised and wheels removed, use a wrench or socket to rotate the eccentric bolt in the appropriate direction (consult your manual for specifics). Each turn induces a slight camber adjustment.
- Patience is key: Remember, small adjustments make a big difference. Rotate the bolt incrementally, reattaching the wheel and lowering the car for test drives and measurements after each adjustment. This ensures you achieve the desired camber without overcorrection.
Bonus Tip: Some eccentric bolts utilize markings or numbers indicating adjustment direction. Consult your manual to decipher these cryptic messages!
Cam Plates: The Powerhouse for Performance Enthusiasts
Craving more aggressive camber adjustments? Cam plates step into the ring. These aftermarket components replace the stock strut mounts, offering a wider range of adjustment compared to eccentric bolts.
Dive into the exciting world of cam plates:
- Compatibility check: Not all cam plates are created equal. Ensure you choose plates compatible with your specific car make and model. Research online or consult a performance shop for the perfect fit.
- Installation finesse: While not as simple as a bolt turn, cam plate installation involves removing the strut mounts and carefully aligning the new plates. Consult detailed instructions or seek professional help if needed.
- Fine-tuning potential: Once installed, cam plates offer significant adjustment range. However, remember the principle of “less is more.” Start with minor adjustments, test drive, and re-measure before dialing in your desired camber for optimal performance and safe handling.
Remember: Cam plates can significantly alter suspension geometry, potentially affecting other alignment angles. Consider a professional alignment check after significant adjustments.
Stay tuned to explore even more bolt-free techniques, including strut top mounts and the advanced washer method, empowering you to choose the ideal solution for your car and confidence level!
Potential Clearance Issues:
Be aware that some cam plates, especially those offering extreme camber adjustments, might cause clearance issues with other suspension components or tire dimensions. Research compatibility thoroughly and ensure enough clearance for safe operation before investing.
Strut Top Mounts: Limited Adjustability, Versatile Applications
While not always offering dedicated camber adjustment like eccentric bolts or cam plates, strut top mounts sometimes play a role in camber adjustment, depending on their design. On certain cars, particularly performance-oriented models, the strut top mount might have built-in adjustment slots allowing for slight camber changes.
Compatibility and Limitations:
- Check Your Car’s Specs: Research if your car’s strut top mounts offer camber adjustment capabilities. Consult your manual or online forums specific to your car model.
- Limited Range: Remember, even if adjustable, strut top mounts typically offer a smaller range of adjustment compared to other methods. They might be suitable for minor corrections or fine-tuning after using other techniques.
Washer Method: Advanced and Cautionary
The washer method involves strategically placing washers between specific suspension components to induce camber changes. While effective in some cases, this technique is considered advanced and requires a deep understanding of your car’s suspension geometry and potential risks.
Proceed with Caution:
- Expert Advice is Crucial: This method is not recommended for beginners. Seek guidance from experienced mechanics or suspension specialists before attempting it yourself. Miscalculations or improper execution can lead to unsafe handling and suspension damage.
- Research and Understand: Thoroughly research the specific application of the washer method for your car model. Understand the potential impact on other suspension angles and ensure you have the necessary tools and knowledge to perform the adjustment safely.
Remember: Safety always comes first. If you’re unsure about any step or feel uncomfortable, prioritize professional guidance or stick to the safer methods discussed earlier.
By understanding these tools and techniques, you can confidently explore the world of bolt-free camber adjustments, choosing the method that best suits your car, confidence level, and desired outcome. Remember, start small, measure meticulously, and prioritize safety throughout the process. Happy wrenching!
- Eccentric Bolts: Explain their function and how to adjust them (mentioning specific car models if applicable).
- Cam Plates: Detail their installation and adjustment process, including potential clearance issues.
- Strut Top Mounts: Discuss their role in camber adjustment and potential compatibility limitations.
- Washer Method (Advanced): Briefly explain this technique, emphasizing caution and expert advice.
Safety First: Essential Precautions Before You Wrench
Conquering camber without bolts is exciting, but remember, safety is paramount. Before you dive into adjustments, ensure you’re working in a safe environment and prioritizing your well-being. Here’s your essential safety checklist:
Level Ground is Key:
- Choose a flat, level surface to work on. Driveways, garages, or dedicated workshops are ideal. Uneven surfaces can compromise measurements and lead to inaccurate adjustments.
- Park your car securely using parking brakes and wheel chocks on both rear wheels. This prevents accidental rolling and ensures stability while you work.
Jack It Up Safely:
- Use jack stands specifically rated for your car’s weight. Position them on designated jack points as outlined in your car’s manual. Never rely solely on the jack for support.
- Lower the car carefully onto the jack stands before removing any wheels. Double-check the stability of the car and jack stands before proceeding.
Gear Up for Protection:
- Safety glasses and gloves are your essential companions. Protect your eyes from debris and wear sturdy gloves to shield your hands from potential cuts or pinches.
- Closed-toe shoes offer additional protection from falling objects or accidental slips. Dress appropriately for the task, avoiding loose clothing that could get caught in moving parts.
Be Aware of Your Surroundings:
- Work in a well-lit environment to clearly see what you’re doing and avoid potential hazards.
- Keep children and pets away from the work area to prevent any accidents or distractions.
- Be mindful of hot engine components and exhaust systems, especially if working on a warm car. Allow them to cool down before touching or working near them.
Know Your Limits:
- Don’t hesitate to consult a professional mechanic if you’re unsure about any step or encounter unexpected difficulties. It’s better to seek help than risk compromising your safety or damaging your car.
- Remember, your safety is non-negotiable. If you feel uncomfortable at any point, stop the project and seek professional guidance.
By following these essential safety measures, you lay the foundation for a successful and rewarding camber adjustment experience. Now, let’s delve into the exciting world of specific adjustment techniques, keeping safety at the forefront of every step!
Step-by-Step Guide: Tailored to Your Car (Choose One or More Methods)
Ready to translate theory into practice? Dive into these tailored guides and adjust your car’s camber like a pro, without relying on those pesky bolts! Remember, choose the method that best suits your car model and comfort level.
Important Note: These guides provide general instructions. Always consult your car’s specific service manual or seek professional guidance if needed.
Conquering Camber on your 2015 Honda Civic with Eccentric Bolts:
- Preparation is Key: Park your Civic on level ground, engage the parking brake, and chock the rear wheels. Safely raise the front of the car and secure it on jack stands. Locate the eccentric bolts on the lower control arms as per your manual (usually marked or off-center).
- Small Adjustments Matter: Grab a wrench or socket that fits the eccentric bolt. Remember, small adjustments make a big difference! Rotate the bolt slightly in the direction specified by your manual to adjust camber (consult markings or arrows).
- Test, Measure, Repeat: After each adjustment, reattach the wheel, lower the car, and take a test drive. Use a camber gauge to measure the change. Repeat the process in small increments, testing and measuring, until you achieve the desired camber for both sides.
Fine-Tuning the Grip on your Toyota Camry with Cam Plates:
- Compatibility Check: Ensure you have cam plates specifically designed for your Camry model. Research online or consult a specialist for the perfect fit. Remember, compatibility is crucial for safe and effective adjustments.
- Precision Installation: Follow the provided instructions or seek professional help to remove the strut mounts and carefully install the new cam plates, ensuring proper alignment. Double-check everything before proceeding.
- Dialing in Your Desired Stance: Once installed, use the cam plates’ adjustment mechanism (refer to manufacturer instructions) to achieve your desired camber. Remember, start with minimal adjustments, test drive, and re-measure before dialing in the final settings. Consider a professional alignment check after significant adjustments.
Strut Top Mount Adjustments for your [Your Car Model]:
- Compatibility First: Research if your car’s strut top mounts offer camber adjustment possibilities. Consult your manual or online forums specific to your model. Remember, not all strut top mounts are adjustable.
- Limited Range, Precise Execution: If adjustable, locate the adjustment slots on the strut top mounts and use the provided tools (refer to your manual) to make minor camber changes. Remember, the adjustment range is typically limited. Use a camber gauge and ensure you maintain safe suspension geometry.
Advanced Washer Method (Proceed with Caution):
Disclaimer: This method is not recommended for beginners and requires expert guidance. If unsure, consider professional help or stick to safer methods mentioned above.
Remember: Safety first! If you choose this method, thoroughly research its application for your specific car model, understand potential risks, and ensure you have the necessary tools and knowledge for safe execution.
By following these tailored guides and prioritizing safety, you can confidently adjust your car’s camber without relying on bolts. Unleash the grip you crave and enjoy the improved handling and tire life your car deserves!
- Provide clear, concise instructions for each method mentioned earlier, accompanied by relevant visuals.
- Ensure each guide is specific to a popular car make/model (e.g., adjusting camber on a 2015 Honda Civic).
- Offer downloadable instructions or link to detailed video tutorials for added value.
After the Adjustment: Verification and Fine-Tuning
You’ve adjusted your camber like a pro, but the job isn’t done yet! Ensuring proper alignment and verifying your handiwork are crucial steps before hitting the road again. Remember, precision matters!
Double-Check Your Fasteners: Safety first! Before lowering the car, ensure all bolts, nuts, and adjustments are properly torqued according to your car’s specific specifications. Consult your manual or online resources for torque values. Loose fasteners can compromise safety and handling.
Beyond Camber: The Alignment Checkup: While you tackled camber, other alignment angles (toe, caster) might have been affected slightly. Schedule a professional alignment check for peace of mind and optimal handling. This ensures all angles are within spec, maximizing tire life and vehicle stability.
Test Drive and Fine-Tuning: Take your car for a test drive on a familiar, safe route. Pay close attention to handling characteristics, steering feel, and any unusual noises. If you notice uneven tire wear, pulling towards one side, or other abnormalities, consult a mechanic for further adjustments or troubleshooting.
Remember: Even minor adjustments can impact handling. Be mindful of the changes and adapt your driving accordingly until you’re fully comfortable with the car’s new behavior.
Professional Intervention When Needed: Don’t hesitate to seek professional help if you encounter unexpected issues, doubts, or simply prefer expert assurance. Remember, prioritizing safety and proper alignment is paramount, and there’s no shame in seeking guidance from qualified professionals.
By following these post-adjustment steps, you can be confident that your DIY camber adjustment is a success, contributing to improved handling, extended tire life, and most importantly, safe and enjoyable driving experiences. Now go forth and conquer the road!
Bonus Tip: Camber Kits and Performance Alignment
You’ve mastered the art of bolt-free camber adjustments, but for some enthusiasts, the quest for grip goes further. This section delves into the world of camber kits and performance alignments, unlocking even more precise control and handling prowess.
Camber Kits: For When Subtle Isn’t Enough:
- Aggressive Adjustments: Standard adjustment methods often have limitations. Camber kits, typically comprising adjustable control arms or camber plates with wider adjustment ranges, enable more aggressive camber angles for performance driving.
- Track-Worthy Tweaks: These kits are popular among track enthusiasts seeking optimal handling characteristics. By precisely dialing in negative camber, you increase tire contact patch during cornering, maximizing grip and reducing tire wear under high lateral loads.
- Compatibility is Key: Remember, camber kits are not universal. Research and choose a kit specifically designed for your car make and model to ensure proper fitment and safe operation.
Performance Alignments: The Finishing Touch:
- Unlocking Potential: After installing a camber kit or making significant adjustments, a performance alignment is crucial. This goes beyond standard alignment, considering factors like tire type, suspension modifications, and intended driving style.
- Fine-Tuning for Precision: A performance alignment refines not just camber, but also other crucial angles like caster and toe. This ensures optimal handling balance, responsiveness, and stability, especially during spirited driving.
- Professional Expertise: Performance alignments typically require specialized equipment and expertise. Consult a reputable performance shop or suspension specialist for this crucial step.
Remember: While camber kits and performance alignments offer exciting possibilities, prioritize safety and responsible modifications. Ensure proper installation, understand the potential impact on handling, and prioritize safe driving practices even with enhanced capabilities.
By exploring these advanced options, you can further refine your car’s handling and unlock its true performance potential. Remember, responsible modifications and safe driving practices are essential for enjoying the ultimate grip you’ve created.
Conclusion:
Conquering your car’s camber without relying on pesky bolts isn’t just a dream! This comprehensive guide has equipped you with the knowledge and tools to tackle this project confidently, from understanding the importance of proper camber angles to mastering techniques like eccentric bolts, cam plates, and even advanced methods. Remember, safety always comes first, so follow the essential precautions and prioritize professional guidance when needed.
By carefully assessing your needs, choosing the right method for your car, and following the step-by-step guides tailored to your specific model, you can unlock a world of benefits. Imagine exhilarating handling, extended tire life, and the satisfaction of a DIY victory! Don’t be afraid to get your hands dirty (safely, of course!), and remember, small adjustments make a big difference. Start conservatively, test drive, and fine-tune until you achieve the perfect balance for your needs.
This journey doesn’t end here. Explore the world of camber kits and performance alignments for even more precise control and grip, always prioritizing responsible modifications and safe driving practices. Utilize the provided resources, seek guidance from professionals when needed, and most importantly, enjoy the thrill of a car that truly responds to your command! Remember, the road to perfect grip starts with knowledge, confidence, and a little bit of wrench-slinging spirit. So, grab your tools, choose your method, and conquer your camber like a pro!
One final piece of advice: The automotive world is full of enthusiasts and experts willing to share their knowledge. Don’t hesitate to connect with online communities or consult professionals if you have questions or need a helping hand. Together, we can all conquer the road, one perfectly aligned tire at a time!
FAQ:
You’ve equipped yourself with the knowledge to tackle camber adjustments without bolts, but questions might still linger. Let’s address some frequently asked concerns and empower you to proceed with confidence:
Is DIY camber adjustment safe?
Absolutely, when done correctly and safely. Prioritize the safety steps outlined earlier. If unsure, consult a mechanic or stick to safer methods like eccentric bolts. Remember, your safety is paramount.
Will adjusting camber void my warranty?
Consult your car’s warranty booklet to confirm its specific terms. Some manufacturers might consider modifications like camber kits to void the warranty, while others might not. It’s crucial to check before proceeding.
What if my car doesn’t have adjustable camber components?
Not all cars offer built-in adjustability. Research your specific model to see what options are available. If adjustments are limited, consider professional alignment checks to ensure optimal tire wear and handling even without major camber changes.
How much will a professional camber adjustment cost?
Costs can vary depending on the method used, your car model, and labor rates in your area. Expect to pay more for adjustments involving camber plates or kits compared to simpler eccentric bolt adjustments.
Where can I find more information and resources?
Your car’s manual is a valuable resource. Online forums specific to your car model offer insights and experiences from other DIY enthusiasts. Reputable performance shops and suspension specialists can also provide valuable guidance.
Remember: The internet is a vast resource, but always double-check information and prioritize reliable sources.
By addressing these common concerns and utilizing the resources available, you can confidently navigate the world of bolt-free camber adjustments and enjoy the benefits of improved handling, extended tire life, and a sense of accomplishment from a successful DIY project. Now go forth and conquer the road with your perfectly dialed-in camber!

