Homemade Rock Tamers : DIY Solutions for Road Debris
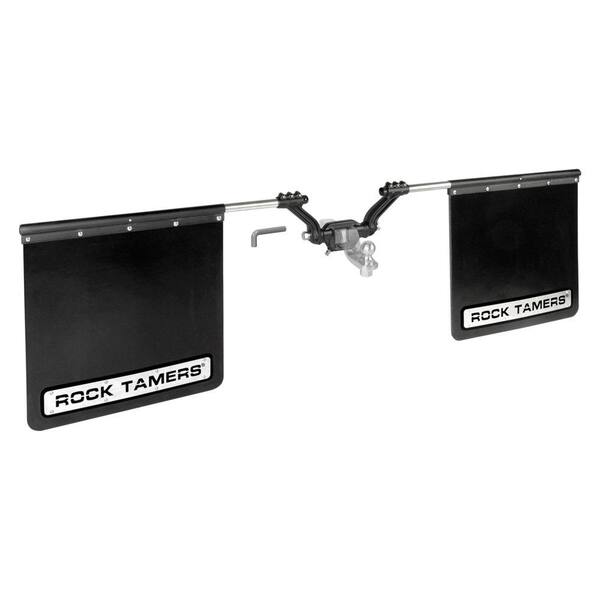
Rock tamers are an essential tool for anyone who loves off-roading or driving on gravel roads. They are designed to protect your vehicle from rocks, debris, and other road hazards that can cause damage to your paint job, headlights, and grille. While there are many commercially available rock tamers on the market, making your own can be a fun and rewarding DIY project. In this guide, we will walk you through the step-by-step process of making homemade rock tamers for your vehicle.
Materials You’ll Need
Before you get started, it’s important to gather all the materials you’ll need to make your homemade rock tamers. Here’s what you’ll need:
| Materials | Quantity |
|---|---|
| 4-inch rubber mud flaps | 2 |
| Aluminum angle stock | 2 pieces (sized to fit your vehicle) |
| Mounting hardware (nuts, bolts, washers) | As needed |
| Drill and drill bits | 1 set |
| Saw (jigsaw or hacksaw) | 1 |
| Marker | 1 |
| Measuring tape | 1 |
Step 1: Measure and Cut the Aluminum Angle Stock
Start by measuring the width of your vehicle to determine the size of the aluminum angle stock you’ll need. Use a saw to cut the aluminum angle stock to the appropriate length, ensuring that it will fit seamlessly along the bottom edge of your vehicle’s fender.
Step 2: Prepare the Rubber Mud Flaps
Place the rubber mud flaps on a flat surface and use your measuring tape to mark where you will need to drill holes for the mounting hardware. Make sure the holes are evenly spaced and aligned to match the holes in the aluminum angle stock.
Step 3: Attach the Rubber Mud Flaps to the Aluminum Angle Stock
Align the rubber mud flaps with the aluminum angle stock and use your drill to create holes for the mounting hardware. Secure the rubber mud flaps to the aluminum angle stock using nuts, bolts, and washers, ensuring a tight and secure fit.
Step 4: Mount the Homemade Rock Tamers to Your Vehicle
With the rock tamers fully assembled, use the appropriate mounting hardware to attach them to the bottom edge of your vehicle’s fenders. Make sure they are securely fastened to provide maximum protection against rocks and debris.

Credit: www.youtube.com
Benefits of Homemade Rock Tamers
Making your own rock tamers has several benefits, including:
- Cost savings compared to purchasing commercial rock tamers
- Customizable to fit your vehicle perfectly
- A fun and rewarding DIY project
- Peace of mind knowing your vehicle is protected during off-roading adventures
Frequently Asked Questions On Homemade Rock Tamers : Diy Solutions For Road Debris
What Are Homemade Rock Tamers?
Homemade rock tamers are DIY solutions for protecting your vehicle from flying debris and rock chips.
How Do Homemade Rock Tamers Work?
They act as a shield, blocking rocks and debris kicked up by your tires to prevent damage to your vehicle.
What Materials Are Used For Homemade Rock Tamers?
Typically, they can be made from durable materials such as rubber, PVC, or heavy-duty fabric.
What Are The Benefits Of Using Homemade Rock Tamers?
They can save you money, protect your vehicle, and provide a customized solution for your specific needs.
Conclusion
By following this guide, you can craft your own homemade rock tamers to protect your vehicle from the perils of off-roading and gravel roads. Not only will you save money, but you’ll also have the satisfaction of knowing you created a custom solution tailored to your vehicle’s specific needs. With your homemade rock tamers in place, you can hit the trails with confidence, knowing that your vehicle is shielded from rocks and debris that come its way.


