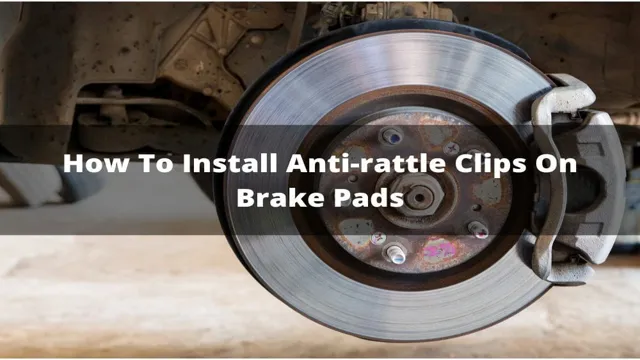
Stop that Squeal: A Guide to Installing Anti Rattle Clips on your Brake Pads
When it comes to ensuring the safety of your car’s brakes, every little detail counts. One important part of this system is the anti-rattle clip. This simple component reduces noise and vibration, and also keeps the brake pads from shifting and causing unnecessary wear.
But how do you install anti-rattle clips on brake pads? Fortunately, it’s a fairly simple process that just about anyone can manage with a few basic tools and some patience. In this blog post, we’ll walk you through the steps involved in getting these clips installed correctly. We’ll cover everything from removing the old clips to positioning the new ones, so you can be confident that your brakes will perform at their best.
Whether you’re a seasoned DIY mechanic or a novice looking to improve your car maintenance skills, installing anti-rattle clips on brake pads is a task that’s well worth learning. Not only will it help extend the life of your brakes and prevent annoying sounds, it can also contribute to safer driving conditions overall. So let’s roll up our sleeves and get started!
What Are Anti Rattle Clips?
If you’re experiencing a rattling sound when braking, anti rattle clips may be the solution you need. These small metal clips are designed to hold brake pads securely in place and prevent them from vibrating or bouncing. To install anti rattle clips on brake pads, start by removing the old clips and inspecting the brake pads and caliper for wear and damage.
Then, clean the brake pads and caliper thoroughly before attaching the new clips using the provided screws or bolts. It’s important to ensure the clips are properly aligned and tight to prevent any movement or noise. Keep in mind that anti rattle clips are only one component of a fully functioning brake system, and regular maintenance and inspections are crucial for optimal performance and safety.
Next time you hit the road, you can feel confident in your braking system with the help of these simple but effective clips.
Description of anti rattle clips and their function
Anti rattle clips are small metal or plastic components that function as a cushioning system to reduce vibrations and rattling in your car’s brake pads or calipers. They are attached to the brake pads and work by holding them securely in the desired position, preventing them from moving or vibrating excessively. These clips are essential because when the brakes are applied and released, the pads can shift and bounce around, resulting in an unpleasant rattling sound.
This, in turn, can lead to premature wear and tear on the brakes, causing damage to the braking system and reducing overall performance. With anti rattle clips, the brake pads are held firmly in place and do not shift or move during driving, resulting in a smoother, quieter, and more efficient ride. So, when replacing or servicing your car’s brakes, don’t forget the crucial role of anti rattle clips in ensuring a comfortable and safe driving experience.
Tools and Materials Needed
If you’re experiencing a rattling noise from your brakes, it’s possible that your anti-rattle clips need to be replaced. Fortunately, installing new ones is a straightforward process that can be completed with some basic tools and materials. To get started, you’ll need a set of replacement anti-rattle clips, brake cleaner, and a set of pliers.
Begin by removing the old clips and cleaning both the pads and calipers with brake cleaner to ensure a solid seal. Then, position the new clips onto the pads, making sure they’re secure before reassembling the brake components. It’s important to note that anti-rattle clips vary depending on the make and model of your vehicle, so it’s best to consult your owner’s manual or a trusted mechanic to ensure you’re using the right ones for your vehicle.
With the right tools and a bit of patience, installing anti-rattle clips can be done easily and quickly.
List of necessary tools and materials for installation
To install a new product, you’ll need the right tools and materials. Before getting started, it’s important to have a comprehensive list of everything you’ll need to ensure the installation process goes smoothly. Here are some necessary tools and materials you’ll need for your installation project.
Firstly, measuring tape is essential to get the right measurements for your installation. Also, a drill and drill bits are necessary when fastening the product to the wall or surface. A level will ensure that your product is straight and installed correctly.
A saw and a utility knife will come in handy when cutting the product to the right size. You’ll also need screws, anchors, and nails to secure the product to the surface. A caulking gun and silicone caulk are necessary to fill any gaps between the product and the wall.
A ladder or step stool will assist you in reaching higher areas, enabling safe and stable installation. Finally, wear protective gear such as gloves and safety glasses as necessary hazardous materials could arise in the installation process. By having all the tools and materials needed, you can install your product with ease, ensuring a secure and professional finish.
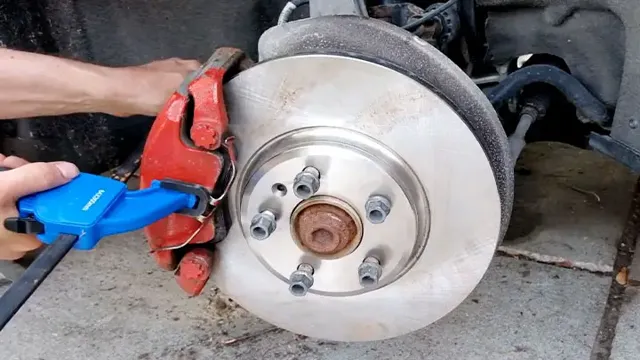
Removing Old Brake Pads
Installing anti-rattle clips on brake pads can significantly reduce noise and vibrations in your vehicle’s braking system. However, before you can install these clips, you need to remove the old brake pads from your car. Start by loosening the lug nuts on the wheel you need to work on, but don’t remove them completely just yet.
Then, using a jack, lift the car until the wheel is off the ground. Finally, take off the lug nuts and wheel to gain access to the brake caliper. Now, remove the bolts that hold the caliper in place and slide the caliper off the rotor.
You should now be able to remove the old brake pads from the caliper. It’s crucial to pay attention to how the old brake pads were oriented and which one goes where, so you can put the new ones on correctly. Once you’ve removed the old pads, you can install the anti-rattle clips and insert the new brake pads.
Step-by-step guide to remove old brake pads
If you’re experiencing squealing or reduced stopping power, it may be time to remove your old brake pads. Here’s a step-by-step guide to help you through the process. Start by parking your car on level ground and engaging the parking brake.
Loosen the lug nuts on the wheel with the brake pads you’re replacing. Use a jack to raise the car off the ground and remove the wheel. Locate the brake caliper, which will be connected to the brake pads.
Use a socket wrench to remove the bolts holding the caliper in place. Once loosened, the caliper should slide easily off the mounting bracket. Be careful not to let the caliper dangle from the brake line.
Remove the brake pads from the caliper bracket, taking note of their position. If they’re still in good condition, keep them as spares. Give the caliper bracket a good cleaning before installing the new brake pads.
Insert the new pads into the bracket, making sure they’re seated properly. Slide the caliper back into place, tightening the bolts until snug. Finally, replace the wheel and tighten the lug nuts.
Repeat the process on the remaining wheels. It’s always a good idea to test your brakes before hitting the road again. Happy wrenching!
Installing Anti Rattle Clips
Changing your brake pads can be a daunting task, especially if you have never done it before. Installing anti rattle clips on your new brake pads can be an important step in ensuring that your brake system is functioning properly. Anti rattle clips help minimize the vibrations and noise that can occur when you apply the brakes.
Installing them is easy, and the clips can usually be found in brake pad kits. Simply slide the clips onto the brake pads, making sure they are securely in place. It’s important to note that not all brake pads require anti rattle clips, but it’s always a good idea to check the manufacturer’s instructions to be sure.
With these clips installed, you can hit the road with confidence and peace of mind knowing that your brakes are performing at their best. So, don’t hesitate to install anti rattle clips on your new brake pads to ensure smooth and quiet braking!
Step-by-step guide to install anti rattle clips on brake pads
If you’re looking to install anti-rattle clips on your brake pads, don’t worry! It’s a straightforward process that can be completed in just a few simple steps. The first thing you’ll want to do is gather your materials. You’ll need your new anti-rattle clips, pliers, a brake pad spreader, a torque wrench, and some brake pad grease.
Once you have everything you need, begin by removing your old brake pads and cleaning the caliper and rotor thoroughly. Then, apply some brake pad grease to the new clips to help them slide smoothly into place. Use your pliers to pry open the clips and slide them onto the pads.
Finally, use your brake pad spreader to compress the caliper, slide in the new pads with the clips attached, and torque everything down to the manufacturer’s specifications. With your new anti-rattle clips installed, your brakes will be working more smoothly and quietly than ever before!
Reinstalling Brake Pads
If you’re experiencing a rattling noise when you hit the brakes, chances are your anti-rattle clips aren’t doing their job. Thankfully, it’s a simple fix that you can do at home. Start by thoroughly cleaning your brake calipers and brake pads.
Then, take your new anti-rattle clips and carefully place them onto the brake pads, ensuring they’re secure. Make sure they’re properly aligned so they can clip onto the brake calipers. Once they’re in place, reattach the brake pads to the calipers and check to make sure they aren’t loose.
When installation is complete, test your brakes to ensure they’re functioning correctly. With just a few simple steps, you can have a quiet, rattle-free driving experience once again. Remember, maintaining your brake pads and anti-rattle clips is crucial for the safety of both you and your vehicle.
Instructions for putting the brake pads back in place
If you’ve taken your brake pads out to inspect or replace them, you’ll need to know how to put them back in place. First, make sure the brake caliper piston is fully retracted so that the pads can fit inside. Next, slide the pads back into position, making sure they fit snugly onto the rotor.
If your brakes have any hardware or clips, make sure they’re placed in the correct position before pressing the caliper back in place. Once the caliper is back on, you can reattach any bolts or pins that hold it in place. It’s important to note that you should never reuse old pads once they’ve been removed, as they may have wear patterns that affect their effectiveness.
By following these instructions and replacing your brake pads as needed, you can help ensure your car stops smoothly and safely when you need it to.
Testing Your Brake Pads
If you want to ensure the brakes on your vehicle are functioning properly and safely, it’s important to regularly test your brake pads. One way to do this is by checking for any signs of wear or damage. If you notice that your brake pads are starting to look worn down or are making a squealing sound when you apply the brakes, it may be time to replace them.
Another important step in maintaining your brake pads is to make sure they are properly installed with anti-rattle clips. These clips help to reduce noise and vibrations while the brakes are in use, providing a smoother and more comfortable ride. To install these clips, simply slide them onto the pad and secure them in place.
It’s a quick and easy process that can make a big difference in the performance of your brakes. Remember to perform regular maintenance on your brakes and test them often to ensure they are in good working order.
How to test your brake pads after installation
After installing new brake pads, it’s essential to test them before hitting the road. One of the easiest ways to test your brake pads is by taking your car out for a gentle drive and applying the brakes gently to see how they feel. If you notice any grinding or screeching sounds, it’s likely that the new brake pads are not settling into the rotors correctly or are not the right fit for your vehicle.
Additionally, try applying the brake firmly at higher speeds to test the responsiveness of your brake pads. If your car doesn’t decelerate smoothly or takes longer than usual to come to a stop, it’s an indication that something is wrong with the new brake pads. It’s always a good idea to give your brake pads a quick test run before taking off to ensure your safety on the roads.
Remember, you can never be too cautious when it comes to your brakes because they can make all the difference when it comes to avoiding accidents.
Conclusion
In summation, installing anti-rattle clips on your brake pads is a simple and effective way to improve the performance and longevity of your brakes. Just follow these steps: remove the old clips, clean the caliper and pad surface, position the new clips, and secure them in place. By taking the time to make this easy upgrade, you’ll enjoy a quieter and smoother ride, and your car will thank you for it.
So get out there, get your hands dirty, and keep your brakes on track!”
FAQs
What are anti rattle clips and why are they important for brake pads?
Anti rattle clips are small metal clips that are placed on brake pads to prevent them from rattling. They help ensure that the pads stay in place and properly engage with the brake rotor, which in turn improves the overall performance of the braking system.
Can I install anti rattle clips on my brake pads myself?
Yes, it is possible to install anti rattle clips on your brake pads yourself, although it may require some technical skill and knowledge of how brake systems work. It is recommended to consult a professional mechanic if you are unsure about how to install anti rattle clips properly.
What tools are needed to install anti rattle clips on brake pads?
You will need a few tools to install anti rattle clips on your brake pads, such as a socket wrench, a pair of pliers, and a set of rattle clip pliers. You may also need other tools depending on the type of car you have and the specific brake system you are working with.
How do I know if I need to replace my anti rattle clips?
If you notice that your brake pads are making a rattling noise or are not engaging with the rotor properly, it may be a sign that your anti rattle clips need to be replaced. It’s important to regularly inspect your brake system for signs of wear and replace any damaged or worn components to ensure that your brakes are functioning safely and effectively.