Step-by-Step Guide: How to Install a Slave Cylinder Like a Pro
Greetings to all the car enthusiasts out there! Are you excited to upgrade your car experience by installing a slave cylinder? But are you worried about how to carry it out? Fear not, as we have got you covered with our step-by-step guide on installing a slave cylinder. A slave cylinder plays a pivotal role in enhancing the efficiency of your car’s transmission. It works in coordination with the clutch master cylinder to ensure that the clutch delivers smooth and consistent power to the engine.
It’s essential to have a functional slave cylinder to boost your car’s overall performance, and installing one isn’t rocket science. In this article, we’ll go through a detailed guide on how to install a slave cylinder, covering every minute detail to help you carry out the process smoothly. From preparing the vehicle and gathering the necessary tools to installing the slave cylinder meticulously, we have got it all covered.
Follow our guide, and you’ll be able to get started on your journey towards a smoother driving experience in no time. Let’s dive into the step-by-step process and make sure your car works like a dream!
What is a Slave Cylinder?
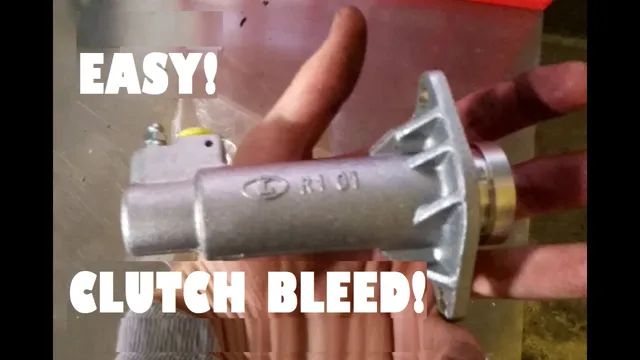
If you are looking to replace your clutch or experiencing difficulties with shifting gears, the slave cylinder may be the culprit. The slave cylinder is an integral component of the hydraulic clutch system that assists in disengaging and engaging the clutch. It’s responsible for exerting the necessary force to operate the clutch fork and release the pressure plate.
To install a new slave cylinder, first, locate the old cylinder and remove it from the transmission. Then, inspect for any signs of damage or wear and tear on the clutch fork and fluid hose. Next, attach the new cylinder to the transmission and reconnect the fluid hose.
Finally, prime the system by bleeding any air from the lines and test the clutch operation. By following these steps, you can restore your vehicle’s performance and enjoy smoother shifting. Overall, replacing a slave cylinder may seem complicated, but with proper tools and techniques, you can easily tackle this task.
Keep in mind that regular maintenance of your hydraulic clutch system can extend its lifespan and save you from costly repairs down the road.
Understanding its Role in Your Vehicle
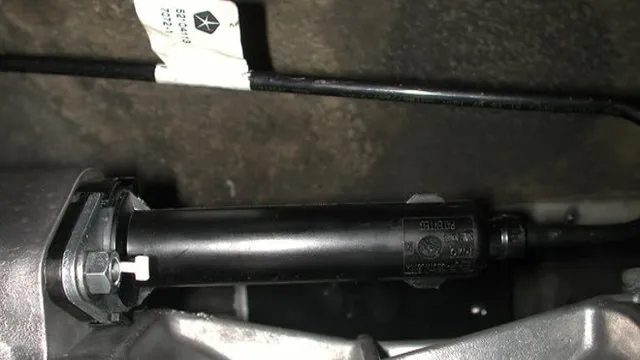
A slave cylinder is an essential component of your vehicle’s hydraulic clutch system. It works with a master cylinder to engage and disengage the clutch, allowing you to change gears smoothly. The slave cylinder is usually located on the transmission and attached to a release fork that engages the clutch.
When you press down on the clutch pedal, the master cylinder sends hydraulic fluid to the slave cylinder, which then pushes the release fork, disengaging the clutch. If the slave cylinder fails, you may experience difficulty shifting gears or a soft or spongy clutch pedal. It’s crucial to have your slave cylinder inspected regularly and replaced when necessary to maintain the proper function of your clutch system and ensure a safe and smooth driving experience.
Tools and Materials You’ll Need
If you’re looking to replace or install a new slave cylinder, there are a few tools and materials you’ll need to ensure that the process is successful. Firstly, you’ll need a new slave cylinder designed for your specific vehicle. It’s important to consult your owner’s manual to ensure that you’re selecting the proper replacement part.
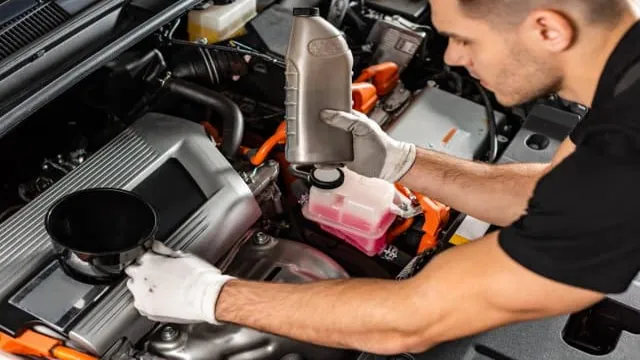
You’ll also need brake fluid, a socket set with various sized sockets, a torque wrench, a bleeder kit, a tube cutter, and a flare tool. A trusted hydraulic system cleaner can also help ensure that the brake fluid lines are clean before installing the new slave cylinder. Lastly, you’ll need a jack and jack stands to safely lift and secure your vehicle during the process.
Ensuring that you have all of these essential tools and materials will save you plenty of time and frustration while installing your new slave cylinder.
Make Sure You Have Everything Before You Begin
Before you start any DIY project, it’s crucial to make sure you have all the necessary tools and materials at hand. This will save you time, frustration, and the need to make multiple trips to the store. The tools you’ll need will vary depending on the project, but a basic set of tools like a hammer, screwdriver, drill, level, and measuring tape will come in handy for most tasks.
You’ll also need materials such as screws, nails, wood, paint, and other supplies that are specific to your project. Remember, it’s always better to have too much than not enough, so make sure you’ve stocked up on everything you need before you begin. This way, you’ll be able to work efficiently and focus on the task at hand without unnecessary interruptions.
Preparing Your Vehicle for the Installation
If you’re looking to install a slave cylinder, it’s important to properly prepare your vehicle beforehand to ensure a successful installation. First, make sure to gather all necessary tools and materials, including a new slave cylinder, brake fluid, wrenches, and a jack and jack stands. Then, consult your vehicle’s manual to locate the slave cylinder and familiarize yourself with the installation process.
Next, remove any components that may impede access to the cylinder, such as the clutch line or transmission. It’s also important to clean the area around the cylinder to prevent contamination of the brake fluid. Once everything is prepped, you’re ready to begin the installation process.
By taking the time to properly prepare your vehicle, you can ensure that the installation goes smoothly and your vehicle performs at its best.
Steps to Safely Lift and Secure Your Vehicle
When it comes to lifting and securing your vehicle, safety should always be your top priority. Before you start the installation process, it’s important to ensure that your vehicle is in the best shape possible and can handle the weight of the lift. First, inspect your vehicle thoroughly for any signs of damage or wear and tear that may compromise its stability.
Check the tires, brakes, and suspension to ensure that they are in good working order. You should also make sure that you have all of the necessary tools and equipment on hand, such as a proper jack and jack stands, to safely lift and secure your vehicle. Finally, be mindful of your surroundings and make sure that the area where you’ll be working is well-lit and free of any obstacles or hazards.
By taking these precautions, you can ensure that your vehicle is prepared for a safe and successful installation.
Removing the Old Slave Cylinder
Installing a new slave cylinder requires removing the old one first. This is an important step that should not be rushed. Firstly, locate the old slave cylinder which is typically located near the clutch pedal on the firewall.
Next, remove any fasteners holding it in place, such as bolts or retaining clips. Carefully detach the cylinder from the clutch line to prevent damage. The old slave cylinder may be difficult to remove due to rust or corrosion, so a lubricant such as penetrating oil can be used to help with removal.
Once removed, inspect the area for any signs of damage or wear that may need attention. With the old slave cylinder removed, you can now proceed with the installation of the new cylinder.
Step-by-Step Guide to Removing the Cylinder
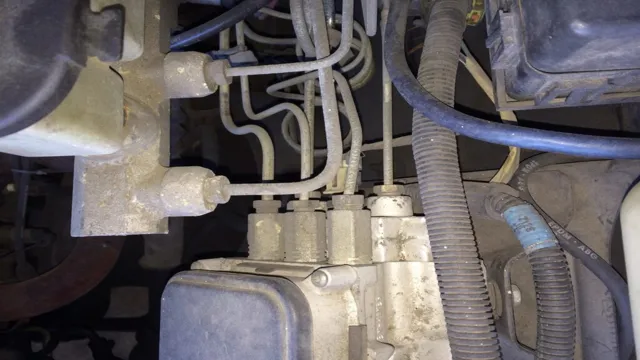
If you’re looking to replace your old slave cylinder, it’s important to know how to remove it properly. The first step is to locate the slave cylinder, which is typically located near the transmission. Once you’ve found it, you’ll need to disconnect the hydraulic line that runs from the master cylinder to the slave cylinder.
This can be done by first removing the clip that holds the line in place, then using a wrench to remove the fitting. Be sure to have a container handy to catch any hydraulic fluid that may leak out. Next, you’ll need to remove the bolts that hold the slave cylinder to the transmission.
Once these bolts are removed, the slave cylinder should slide right off. It’s important to note that when removing the slave cylinder, you should be careful not to damage any nearby components or sensors. With these steps, you can remove the old slave cylinder and prepare for installation of the new one.
Installing the New Slave Cylinder
If you’re experiencing difficulty shifting gears or noticing a leak in your clutch system, it may be time to replace your slave cylinder. Here’s a quick guide on how to install a new one. First, locate the old slave cylinder and remove it by loosening the bolts that hold it in place.
Then, clean the area where the old cylinder was located using a rag or brake cleaner. Next, attach the new slave cylinder, making sure it’s secured tightly. Before installing the hydraulic line, make sure to prime the new slave cylinder to remove any trapped air.
Once the new slave cylinder is securely installed, attach the hydraulic line and tighten it with a wrench. Finally, test the clutch to ensure it’s working properly. Congratulations, you have successfully installed a new slave cylinder!
Step-by-Step Guide to Installing the Cylinder
If you’re inexperienced with car maintenance, installing a new slave cylinder might seem daunting at first. However, with the right tools and some guidance, this task can be accomplished in no time at all. Before starting, make sure you have a new slave cylinder that is compatible with your vehicle.
Begin by detaching the brake lines that are connected to the old cylinder, using a special tool to avoid harming the brake lines themselves. Once the old cylinder is eliminated, insert the new slave cylinder, and reattach the brake lines. Ensure that the connections are tight and secure, so there are no leaks after installation.
Finally, bleed the brake system to remove any trapped air in the lines. By following this step-by-step guide, you can easily install a new slave cylinder and keep your vehicle functioning smoothly.
Testing and Final Touches
Installing a slave cylinder can be a tricky process, but with the right tools and know-how, anyone can do it. The first step is to carefully read the manufacturer’s instructions and gather all the necessary tools and equipment. It’s important to position the cylinder correctly and ensure it’s tightly secured before moving on to the next step.
Once everything is in place, it’s time to bleed the cylinder to remove any air bubbles that may have formed during installation. This involves attaching a hose to the bleed valve and pumping the brake pedal multiple times until the brake fluid runs clean. Finally, it’s important to test the new slave cylinder and make any final adjustments to ensure everything is working smoothly.
With just a few simple steps, anyone can successfully install a slave cylinder and get back on the road in no time.
Ensuring Proper Functionality and Reassembly
After disassembling a device, it’s vital to perform a series of tests to ensure proper functionality before reassembly. Checking for any damaged or worn-out components is recommended to prevent any further issues with the device. Once all damaged parts have been identified, they should be replaced accordingly.
Testing the device for all its features and functions is also crucial, as it allows you to identify any errors that may have occurred during the disassembling process. Once all tests have passed and any errors have been fixed, you can start with the reassembly process. It’s imperative to keep note of which parts were needed to be replaced along with the correct assembly sequence to prevent any further damage to the device.
Ensuring all parts are secured properly and that the device turns on without any issues is the final step. By completing these tests and final touches, it guarantees the device is working adequately and ready for use.
Conclusion
Congratulations, you have successfully installed a slave cylinder! You can now enjoy smoother and safer gear changes without breaking a sweat. Just remember to take your time and follow the steps carefully, as rushing can lead to costly mistakes and a slippery slope towards frustration. With a little patience and a dab of mechanical know-how, you can conquer any car maintenance challenge that comes your way.
So go forth, fellow gearheads, and may your rides always run like a well-oiled machine!”
FAQs
What is a slave cylinder and where is it located in a vehicle?
A slave cylinder is a hydraulic component that assists in the operation of a vehicle’s clutch system. It is located adjacent to the clutch assembly on the transmission.
What are the common signs of a failing slave cylinder?
Some common signs of a failing slave cylinder include difficulty shifting gears, a spongy or soft clutch pedal, leaking hydraulic fluid, and abnormal noises coming from the transmission.
Can a faulty slave cylinder cause damage to other parts of a vehicle’s transmission system?
Yes, a faulty slave cylinder can cause damage to other parts of the transmission system such as the clutch disk, pressure plate, and flywheel if it is not repaired promptly.
How do I install a slave cylinder and bleed the clutch system?
To install a slave cylinder, first, remove the old cylinder and attach the new one in its place. Then, bleed the clutch system by attaching a hose to the bleeder valve, opening the valve, and pumping the clutch pedal multiple times until air bubbles are no longer visible in the fluid.

