12 Simple Steps to Fix Airlock in Your Car’s Cooling System
If you’re experiencing issues with your cooling system, such as uneven cooling or hissing sounds, it’s possible that you have an airlock. An airlock is caused when air gets trapped in the pipes, preventing water from properly circulating throughout the system. Don’t worry, fixing an airlock can be relatively easy and can save you from having to hire a professional or replace your entire system.
With just a few simple steps, you can get your cooling system back up and running smoothly. In this blog post, we’ll guide you through the process of fixing an airlock in your cooling system, providing you with easy-to-follow instructions to get the job done quickly and efficiently.
Identifying the Airlock
If you’re experiencing a lack of heat or hot air coming from your car’s heating system, there may be an airlock present within the cooling system. An airlock is essentially a pocket of air that gets trapped in the system, preventing the proper flow of coolant throughout the engine. To fix an airlock in the cooling system, it’s essential to first identify where it’s located.
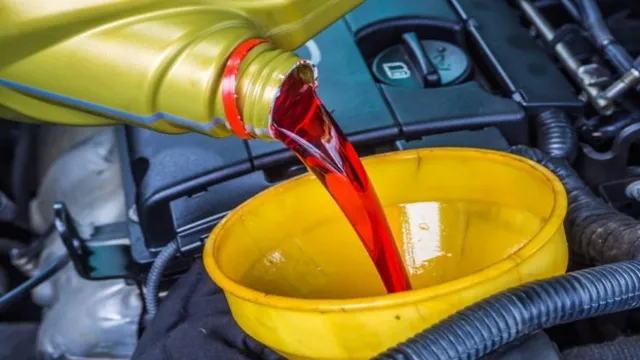
Begin by checking the coolant level, making sure that it’s filled up to the recommended level. Check the hoses and connectors that run from the engine to the radiator and ensure there’s no leakage. Next, grab the radiator cap and check to see if coolant is flowing properly by squeezing the upper radiator hose.
If coolant flows through freely, there’s a good chance that an airlock isn’t present in the cooling system. However, if coolant is not flowing, it’s time to examine the radiator cap and thermostat. When these two components aren’t functioning properly, they can cause the airlock to occur.
By conducting these simple checks and troubleshooting, you can quickly identify and fix the airlock within the cooling system, allowing your car’s heating system to work efficiently once again.
Check for System Pressure Drop
If you notice that your HVAC system is not functioning as efficiently as it should, there may be a pressure drop causing an airlock. An airlock occurs when there is a blockage in the system that is causing the air to be trapped in one area, prohibiting it from flowing freely. To identify an airlock, you should check for any decrease in airflow or unusual noises coming from your system.
One of the primary causes of airlock is a pressure drop caused by clogged filters, damaged ductwork, or a malfunctioning blower motor. By identifying the source of the pressure drop, you can prevent an airlock from occurring and ensure that your HVAC system is functioning correctly. If you suspect that you have an airlock in your system, it’s essential to address it as soon as possible to prevent any further issues.
Listen for Gurgling Noises
If you’re hearing gurgling noises in your pipes, then you may have an airlock. Don’t panic, this is a common issue that can be fixed easily. An airlock occurs when air gets trapped in your pipes, usually as a result of a blockage or an abrupt change in temperature.
When this happens, water can’t flow properly, and you might hear gurgling sounds. To identify an airlock, listen out for these noises and try running the taps in your home. If you notice that the water is trickling out rather than flowing steadily, then you may have an airlock.
Fortunately, there are some easy ways to fix this issue. One method is to turn off the water supply to the affected area and then open the taps to release any trapped air. Alternatively, you can use a plunger or a hose to try and dislodge the blockage.
Remember, if you’re unsure or uncomfortable performing these fixes yourself, it’s always best to call in a plumber to help.
Flushing the System
If you’re experiencing an airlock in your cooling system, there are steps you can take to clear it up. First, start by turning off the engine and allowing it to cool down. Once it’s safe to do so, locate the bleed screw or valve on the system and use a key or screwdriver to open it up.
Be sure to use a container to catch any coolant that may come out. Next, add more coolant to the system while keeping an eye on the bleed screw or valve. Keep adding coolant until it starts to come out of the bleed screw or valve, indicating that the airlock has been cleared.
Finally, top off the coolant level and replace the bleed screw or valve. It’s important to note that if you continue to experience airlocks in your cooling system, there may be underlying issues that need to be addressed by a professional mechanic. But by following these steps, you can quickly and easily fix an airlock and keep your engine running smoothly.
Run Engine with Radiator Cap Off
If you have concerns about sediment or rust buildup in your engine, it may be time to flush the system. One way to do this is to run your engine with the radiator cap off. This process involves draining the old coolant, adding a flushing solution, and running the engine for a certain amount of time without the radiator cap on.
The flushing solution helps break down any buildup within the system, which is then drained out. It’s important to note that this method should only be done when the engine is cool to avoid potential burns. Once the flushing process is complete, refill the system with new coolant.
By flushing the system, you can help prolong the life of your engine and prevent potential damage caused by buildup.
Squeeze Radiator Hoses
Flushing the car’s cooling system is an essential maintenance task to prevent overheating and keep the engine running smoothly. One crucial step during this process is to squeeze the radiator hoses to eliminate any built-up air pockets. These hoses help circulate coolant through the engine, and if they’re not in good condition, they can cause leaks or even break.
By squeezing the hoses, you’re making sure there’s no air left in the system, which can cause hot spots and damage the engine. When you’re flushing the cooling system, it’s a good idea to examine the hoses for signs of wear and tear. If you notice any cracks, bulges, or soft spots, it’s time to replace them before they cause bigger problems.
Doing this simple task can help ensure your car’s engine runs efficiently and reliably, giving you peace of mind while on the road.
Bleeding the System
If you have a cooling system in your vehicle or home, you may experience airlocks or trapped air bubbles that prevent the system from working correctly. This can lead to overheating, poor performance, and damage to the engine or components. Luckily, fixing an airlock is a relatively simple process called bleeding the system.
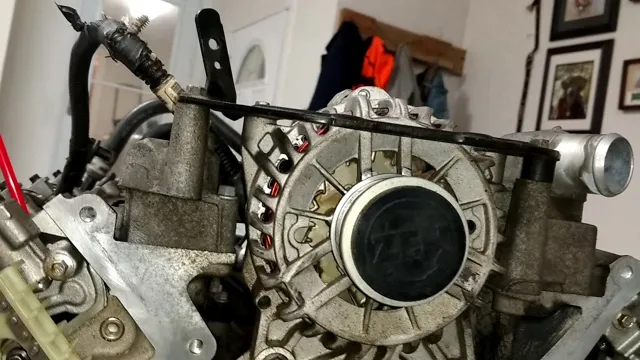
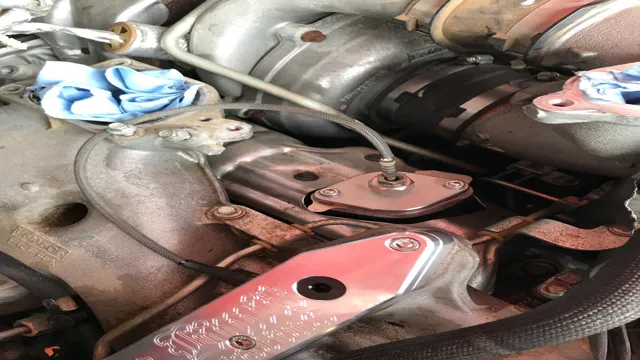
To begin, locate the bleed valve or screw on the highest point of the cooling system and unscrew it using pliers or a wrench. Attach a hose to the valve and run it into a container. Next, turn on the engine and wait for the coolant to flow through the hose without any air bubbles.
Once the coolant is flowing smoothly, close the valve, top off the coolant level, and check for any leaks or other issues. By bleeding the system, you can ensure that your cooling system operates correctly and prevents potential damage or costly repairs.
Locate Bleeder Screw
When it comes to bleeding the brake system on your vehicle, locating the bleeder screw is the first step. This screw is located on the brake caliper and is used to release any trapped air in the system. Before starting, it’s important to make sure you have the correct size wrench or socket to fit the screw.
Once you have the right tool, start by removing the rubber cap that covers the bleeder screw. Next, place the wrench or socket over the screw and turn it counterclockwise to loosen it. As you turn the screw, you should see brake fluid start to flow out of the screw.
This is a sign that air is being released from the system. Keep turning until all the air bubbles are gone and only brake fluid comes out. Then, tighten the screw back up and replace the rubber cap.
By properly bleeding the brake system, you can ensure that your brakes are working optimally and keeping you safe on the road.
Open Bleeder Screw
Bleeding the brake system is an essential task that should not be overlooked, especially after any brake work. The process is simple, but it requires precision and patience. One of the most common ways to bleed the system is to open the bleeder screw located on each brake caliper, starting from the wheel furthest away from the brake master cylinder.
To do this, you will first need to locate the bleeder screw and attach a clear plastic hose over the screw. Next, loosen the screw and have a friend press down on the brake pedal. As the pedal is depressed, brake fluid will flow out of the hose and into a container.
Once the pedal is released, tighten the screw, and repeat the process until there are no more air bubbles visible in the fluid. This ensures that there is no air trapped in the brake lines, keeping the brakes responsive and safe. It’s crucial to make sure that the brake fluid never runs dry while bleeding the system, as it may cause permanent damage to the brake components.
So, remember to always keep an eye on the brake fluid level and top it off as needed.
Test the System
If you’re experiencing a cooling system issue that may be attributed to an airlock, it’s essential to test the system. The first thing you should do is check the radiator for any coolant leaks or damages. If there are no visible signs of damage, you can move to the next step, which is to check the coolant level.
If the coolant level is low, you can refill the radiator and turn on the engine. Let the engine run for a while, and then turn it off and check the coolant level once more. Repeat this process until the coolant levels stay consistent.
If the problem persists, you can try bleeding the cooling system, which is essentially the process of removing any trapped air from the system. To do this, you’ll need to locate the bleed valve, which is typically located near the top of the radiator or near the engine. Attach a hose to the bleed valve and open it, allowing any trapped air to escape.
Be sure to keep the coolant level topped off during this process. Overall, fixing an airlock in the cooling system can be a bit tricky, but testing the system is the first step in diagnosing and addressing the issue. By checking for coolant leaks, monitoring coolant levels, and bleeding the system, you can often fix the problem and get your vehicle back on the road without any issues.
Just remember to take your time and be patient throughout the process.
Check for Leaks and Overheating Symptoms
When it comes to maintaining your vehicle, it’s important to regularly check for leaks and overheating symptoms to prevent any potential issues down the road. One way to start testing the system is to inspect the hoses and connections to make sure there are no visible leaks or cracks. Next, check the coolant levels and ensure they are within the appropriate range.
If your engine is overheating, this could be a sign of a larger problem and may require professional attention. You can also check the radiator for blockages or debris that may be preventing proper cooling. Think of your car’s cooling system like a body’s respiratory system, it needs to be functioning properly in order for the car to operate at its best.
By taking the time to test and maintain your vehicle’s cooling system, you’ll save yourself time and money in the long run and keep your car running smoothly.
Conclusion
In conclusion, fixing an airlock in your cooling system is like unclogging a drain- the longer you ignore it, the bigger the problem will become. However, with just a bit of effort and a few simple steps, you can quickly and easily restore your cooling system back to its optimal running condition. So, whether you’re a seasoned mechanic or just a curious DIY enthusiast, don’t let an airlock throw a wrench in your plans- grab your tools, follow these steps, and get back on the road to smooth sailing (or should we say, cooling?) in no time!”
FAQs
What is an airlock in a cooling system?
An airlock in a cooling system occurs when air becomes trapped in the system and prevents the coolant from properly circulating.
What are some signs of an airlock in a cooling system?
Some signs of an airlock in a cooling system include overheating, decreased performance, and strange noises coming from the engine.
How can you diagnose an airlock in a cooling system?
To diagnose an airlock, start by checking the coolant level and inspecting the hoses, radiator, and water pump for leaks. If no leaks are found, then check for signs of trapped air in the system, such as bubbles in the coolant or a lack of pressure.
How do you fix an airlock in a cooling system?
To fix an airlock in a cooling system, start by turning off the engine and allowing it to cool down completely. Then, open the radiator cap and add coolant until it is full. Next, start the engine and let it run for several minutes while keeping an eye on the coolant level. If any air is still trapped in the system, you may need to bleed the air out by opening the bleed valve or loosening a hose and letting any trapped air escape. Repeat this process until all air is removed from the system.