Homemade Cold Air Intake Pvc Pipe : Step-by-Step Guide
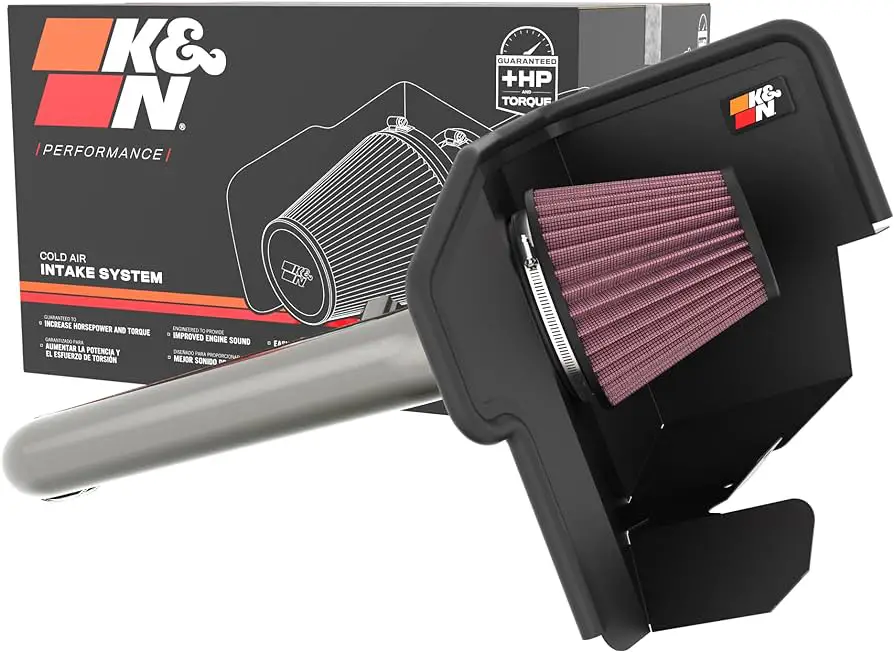
Are you looking to improve your car’s engine performance without breaking the bank? One of the most cost-effective ways to increase horsepower and fuel efficiency is by installing a homemade cold air intake using PVC pipe. Cold air intakes have been proven to provide better airflow to the engine, resulting in improved combustion and overall engine performance. In this guide, we’ll walk you through the steps to create your own cold air intake using PVC pipe, helping you to save money while boosting your car’s performance.
Why Install a Cold Air Intake?
Before we dive into the DIY process, let’s explore the benefits of installing a cold air intake. A cold air intake works by drawing cooler air from outside the engine bay into the intake system. Cooler air is denser, meaning that there is more oxygen in the same volume of air. This increased oxygen supply results in better combustion and more power from the engine. Additionally, a cold air intake can improve fuel efficiency by providing a more optimized air-to-fuel ratio.
Materials Needed
Creating a homemade cold air intake using PVC pipe is a relatively simple and affordable process. Here are the materials you’ll need for this project:
- 3-inch diameter PVC pipe
- PVC 90-degree angle elbows
- PVC cement
- Cold air filter
- Hose clamps
- Hacksaw or PVC pipe cutter
- Measuring tape

Credit: www.keystonerv.com
Step-by-Step Guide
Follow these steps to create your homemade cold air intake using PVC pipe:
- Measure the space in your engine bay to determine the length of PVC pipe needed. Use the hacksaw or PVC pipe cutter to cut the PVC pipe to the appropriate length.
- Attach the PVC 90-degree angle elbows to the ends of the PVC pipe using PVC cement. Ensure a secure and airtight seal.
- Position the cold air filter at one end of the PVC pipe and secure it in place using hose clamps.
- Mount the homemade cold air intake in the engine bay, ensuring that it is positioned away from any heat source and has access to outside air.
- Secure all connections and make any necessary adjustments to ensure a proper fit.
- Start your engine and check for any air leaks. Make sure the cold air intake is securely in place and providing a steady flow of cooler air to the engine.
Precautions
While creating a homemade cold air intake using PVC pipe is a budget-friendly option, it’s essential to consider a few precautions. Make sure to regularly inspect the intake system for any signs of wear or damage. Additionally, take care to position the cold air intake away from any potential sources of water or debris, as these can be harmful to the engine.
Frequently Asked Questions Of Homemade Cold Air Intake Pvc Pipe : Step-by-step Guide
What Is A Homemade Cold Air Intake Pvc Pipe?
A homemade cold air intake PVC pipe is a DIY modification for improving airflow in a car’s engine.
Why Should I Consider A Homemade Cold Air Intake Pvc Pipe?
It can increase horsepower, improve fuel efficiency, and provide a deeper engine sound.
How Do I Create A Homemade Cold Air Intake Pvc Pipe?
By using PVC pipes, a cone air filter, clamps, and some basic tools.
Does A Homemade Cold Air Intake Pvc Pipe Improve Performance?
Yes, by allowing cooler air to enter the engine for better combustion.
Conclusion
By following these simple steps and precautions, you can create a homemade cold air intake using PVC pipe to enhance your car’s performance. Not only is this a budget-friendly option, but it also provides a sense of satisfaction in customizing your vehicle. Enjoy the benefits of increased horsepower, improved fuel efficiency, and a more responsive engine with your DIY cold air intake.
Remember that while DIY projects can be fun and rewarding, it’s important to understand the potential impact and risks they may pose to your vehicle. Always ensure that any modifications you make are safe and legal in your area. If you’re unsure about any aspect of the installation process, it’s best to consult with a professional mechanic or automotive expert.


