How To Plug Brake Line When Changing Caliper: Quick Guide
Changing a caliper might seem tough, but it can be easy. One important step is plugging the brake line. This guide will help you do it safely.
Why Plug the Brake Line?
When you change a caliper, brake fluid can leak out. Plugging the brake line stops this. It keeps your brake system safe.

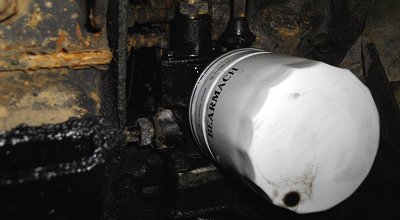
Credit: m.youtube.com
Tools You Will Need
You need some tools to plug the brake line. Here is a list:
- Brake line plugs or caps
- Brake fluid
- Wrenches
- Jack and jack stands
- Rubber gloves
- Clean cloth
- Drip tray
Step-by-Step Guide
Follow these steps to plug the brake line when changing a caliper.
Step 1: Prepare Your Car
Start by parking your car on a flat surface. Use the jack to lift the car. Place jack stands under the car for safety.
Step 2: Locate The Brake Line
Find the brake line connected to the caliper. It is usually a metal tube or a rubber hose.
Step 3: Remove The Wheel
Use a wrench to remove the wheel. This gives you better access to the caliper and brake line.
Step 4: Clean The Area
Clean around the brake line and caliper. Use a clean cloth to wipe away dirt and grime.
Step 5: Disconnect The Brake Line
Use a wrench to loosen the brake line fitting. Be careful; brake fluid may leak out. Place a drip tray under the line to catch the fluid.
Step 6: Plug The Brake Line
Quickly place a brake line plug or cap over the line. This stops brake fluid from leaking. Make sure the plug is secure.
Step 7: Remove The Old Caliper
Use a wrench to remove the bolts holding the old caliper. Take the caliper off the brake rotor.
Step 8: Install The New Caliper
Place the new caliper onto the brake rotor. Use the wrench to secure the bolts. Make sure the caliper is tight.
Step 9: Reconnect The Brake Line
Remove the plug from the brake line. Attach the brake line to the new caliper. Tighten the fitting with a wrench.
Step 10: Check For Leaks
Check the brake line for leaks. If you see fluid, tighten the fitting more. Wipe away any leaked fluid.
Step 11: Refill Brake Fluid
Open the brake fluid reservoir. Add brake fluid to the correct level. Check your car’s manual for the right type of fluid.
Step 12: Bleed The Brakes
Bleed the brakes to remove air bubbles. This ensures the brakes work well. Follow the steps in your car’s manual for bleeding brakes.
Step 13: Reinstall The Wheel
Place the wheel back onto the car. Use a wrench to tighten the lug nuts. Make sure the wheel is secure.
Step 14: Lower The Car
Use the jack to lift the car slightly. Remove the jack stands. Lower the car back to the ground.
Step 15: Test The Brakes
Press the brake pedal a few times. Make sure it feels firm. Drive the car slowly to test the brakes.
Safety Tips
Safety is important when working on your car. Here are some tips:
- Wear rubber gloves to protect your hands.
- Use jack stands for safety.
- Keep brake fluid away from your skin and eyes.
- Dispose of old brake fluid properly.
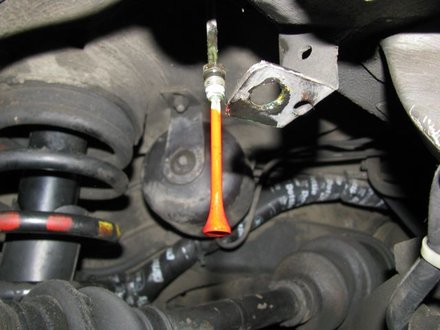
Credit: forum.ih8mud.com
Frequently Asked Questions
How To Plug Brake Line During Caliper Change?
Use a brake line clamp or a vacuum cap to plug the brake line.
What Tools Are Needed To Plug Brake Line?
You need a brake line clamp or a vacuum cap to plug the brake line.
Can I Use A Vacuum Cap To Plug Brake Line?
Yes, a vacuum cap can effectively plug the brake line.
Is Brake Fluid Leakage Harmful?
Yes, brake fluid is corrosive and can damage car parts and paint.
Conclusion
Changing a caliper is easier when you know how to plug the brake line. Follow these steps to do it safely. Always take your time and be careful.
If you found this guide helpful, share it with your friends. Happy car repairing!