
Can You Add Navigation to Honda CRV? Ultimate Guide Revealed!

Credit: www.youtube.com
Introduction
Do you own a Honda CR-V? Are you wondering if you can add navigation to it? The answer is yes! You can add navigation to your Honda CR-V. This guide will show you how to do it.
Why Add Navigation?
Navigation systems make driving easier. They help you find your way around. You will never get lost with a good navigation system. Here are some benefits of adding navigation to your car:
- Turn-by-turn directions
- Traffic updates
- Points of interest
- Estimated time of arrival
Types of Navigation Systems
There are two main types of navigation systems for cars. These are built-in and portable systems.
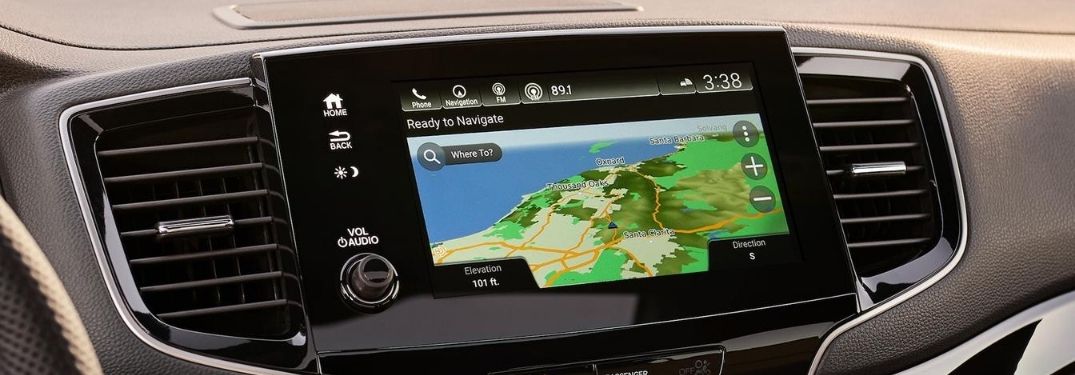
Built-in Navigation Systems
Built-in systems come integrated with the car. They are part of the car’s dashboard. These systems are often more reliable. They offer a seamless look and feel.
Portable Navigation Systems
Portable systems are separate devices. You can mount them on your dashboard or windshield. These systems are often cheaper. They are easy to upgrade and replace.
Credit: www.earnhardthonda.com
Step-by-Step Guide to Add Navigation to Honda CR-V
Tools And Materials
Before you start, gather these tools and materials:
- Screwdriver
- Trim removal tool
- Navigation system
- Wiring harness
- Mounting brackets
Step 1: Choose The Right Navigation System
First, choose a navigation system. Decide if you want a built-in or portable system. Make sure it is compatible with your Honda CR-V.
Step 2: Disconnect The Battery
Safety first! Disconnect the car battery. This will prevent any electrical issues.
Step 3: Remove The Dashboard Trim
Use the trim removal tool. Carefully remove the dashboard trim. This will give you access to the area where the navigation system will go.
Step 4: Install The Mounting Brackets
Attach the mounting brackets to the navigation system. Follow the instructions that came with your system.
Step 5: Connect The Wiring Harness
Connect the wiring harness to the navigation system. Make sure all connections are secure.
Step 6: Mount The Navigation System
Place the navigation system in the dashboard. Secure it with screws. Make sure it is firmly in place.
Step 7: Reattach The Dashboard Trim
Carefully reattach the dashboard trim. Make sure everything fits well.
Step 8: Reconnect The Battery
Reconnect the car battery. Test the navigation system to make sure it works.
Cost of Adding Navigation
The cost of adding navigation to your Honda CR-V can vary. Built-in systems can cost between $500 and $2,000. Portable systems are cheaper. They can cost between $100 and $500.
Professional Installation vs. DIY
You can install the navigation system yourself. This can save you money. However, professional installation is also an option. A professional will ensure the system is installed correctly. This can give you peace of mind.
Frequently Asked Questions
Can You Add Navigation To Honda Cr-v?
Yes, you can add navigation to your Honda CR-V. Options include OEM systems or aftermarket navigation units.
What Is The Cost To Add Navigation?
The cost varies. OEM systems can be expensive, ranging from $500 to $2,000. Aftermarket options are usually cheaper.
Which Navigation System Is Best For Honda Cr-v?
OEM systems are designed for your car. However, Garmin and Pioneer offer reliable aftermarket alternatives.
Does Honda Cr-v Come With Navigation?
Some trims come with built-in navigation. Check your model’s specifications to see if navigation is included.
Conclusion
Adding navigation to your Honda CR-V is a great idea. It can make driving easier and more enjoyable. Follow this guide to add navigation to your car. Happy driving!